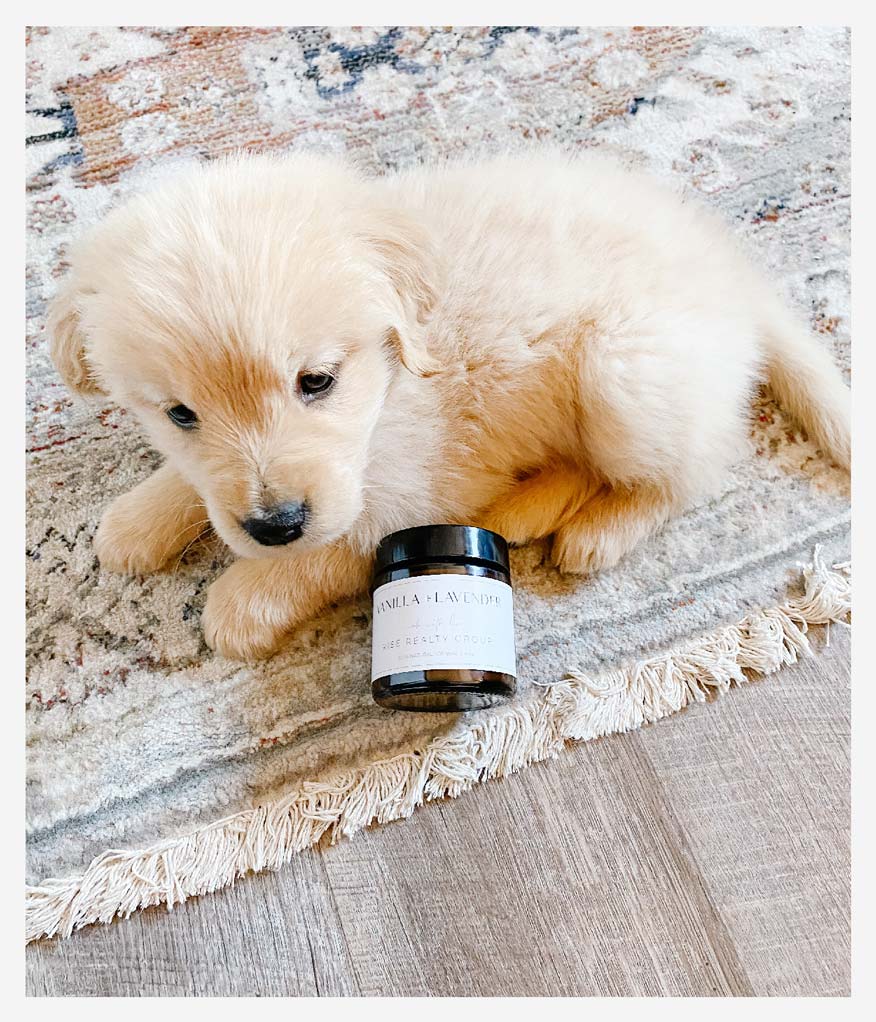
Candles are a great way to add some warmth and light to every space. They can instantly make your home feel cozier as well as adding a nice subtle fragrance to your home. The best part is that they are surprisingly easy to make from home, they can be a lot more cost effective, and you can add in any essential oils that you like!
Recently we decided to make candles for our first time, and it went really well! We learned a bit of tips and tricks that we will share with you to make it easier for you. Despite the fact that they are super easy to make, they may not turn out absolutely perfect but that’s okay because most of the little imperfections are really easy to fix. If you’re adding essential oils it can be hard to figure out the exact amount of oil to put in and they might not be as fragrant as your expecting. We’ll be honest in saying that this is a bit of a learning curve, but after your first batch you’ll know exactly whether you need to add more essential oils or use a little less.
At the end of the day, choosing the wax, the wicks and what you’re going to put them in is where it all starts!

Choosing the Wax
Choosing the wax is really important, it sets the base for the entire candle and some waxes hold scents differently. For example, beeswax burns very slowly and will release a subtle scent of their own without any additional essential oils. On the other hand, Paraffin wax is an inexpensive option that burns quicker and is completely unscented.
Finally, we have Soy wax. This is the perfect wax if you’re looking to add a scent through an essential oil since it will burn at a slower rate and slowly release the fragrance into the air. It also burns a lot cleaner, which means less smoke and soot into the air.

Choosing the Wick
When choosing the wick, you have two major options. A regular wick that is dipped in wax or a wooden wick. If you like a little crackling as the candle burns and a slightly larger flame, a wooden wick is a great choice. This is what we opted for! Unlike a traditional wick where you have the stabilize the wick so it stays in the center of the candle, a wooden wick will stay put. When making the candles, we suggest as the wax is heating up you take the base of the wick and dip it in the wax and place it in the candle. As the wax hardens it will secure the wick in place.
Picking the Essential Oils
Picking an essential oil that you like the smell of is important. After all, you have to enjoy the candle otherwise you won’t use it. Oils such as sandalwood, cedar wood, lavender, vanilla are great options. We opted to blend two oils, lavender and vanilla.
One of the biggest things we read before making the candles was the amount of essential oil that you use. Ultimately you want to use more oil than you think. We know essential oils are not cheap, but we found some larger quantity oils available through amazon that worked amazing. We recommend 2 teaspoons of oil for every 4 ounces of melted wax.

Adding the Essential Oils
When it comes time to add the essential oils, you’ll want to time it properly. If the wax is to hot it can break down the active compounds in the oils and ultimately dampen the smell. Once the wax is melted, we recommend letting it stand at room temperature for about 3-5 minutes to let the wax come down in temperature. The ideal temperature for this is around 185 degrees.
In order to melt the wax, place the wax in a double boiler and slowly melt it over low-medium heat. Once the wax reaches the ideal temperature, add in the essential oils. We also added in a bit of coconut oil to help with the melting point of the wax. Once everything is mixed in, grab your container and start pouring.
When melting the wax, we recommend using something with a bit of a pouring spout. Especially if you are using a smaller candle container. This will help when pouring and also help with the clean up as there will be a lot less of a mess.
Once the wax is poured into the candle, let it sit for 24 hours before moving them or doing anything with them. This will allow the wax to fully cure. If you used a standard wick, you may have to trim the wicks at this time to properly fit within the container. Also, you might have a few little craters in the tops of the candles depending on how quickly the wax hardened. This is super easy to fix, all you need is a heat gun or hair dryer. Simply heat up the top a bit and you will notice that they will be gone.
That’s it! The best part is every time you light the candle, you will take pride in knowing that you made it yourself. The more you make them, the easier it will be. You’ll be a pro in no time!
P.S. If you’re looking for waxes, wicks or essential oils we recommend checking out amazon. There are a ton of different options and most with prime available.

